
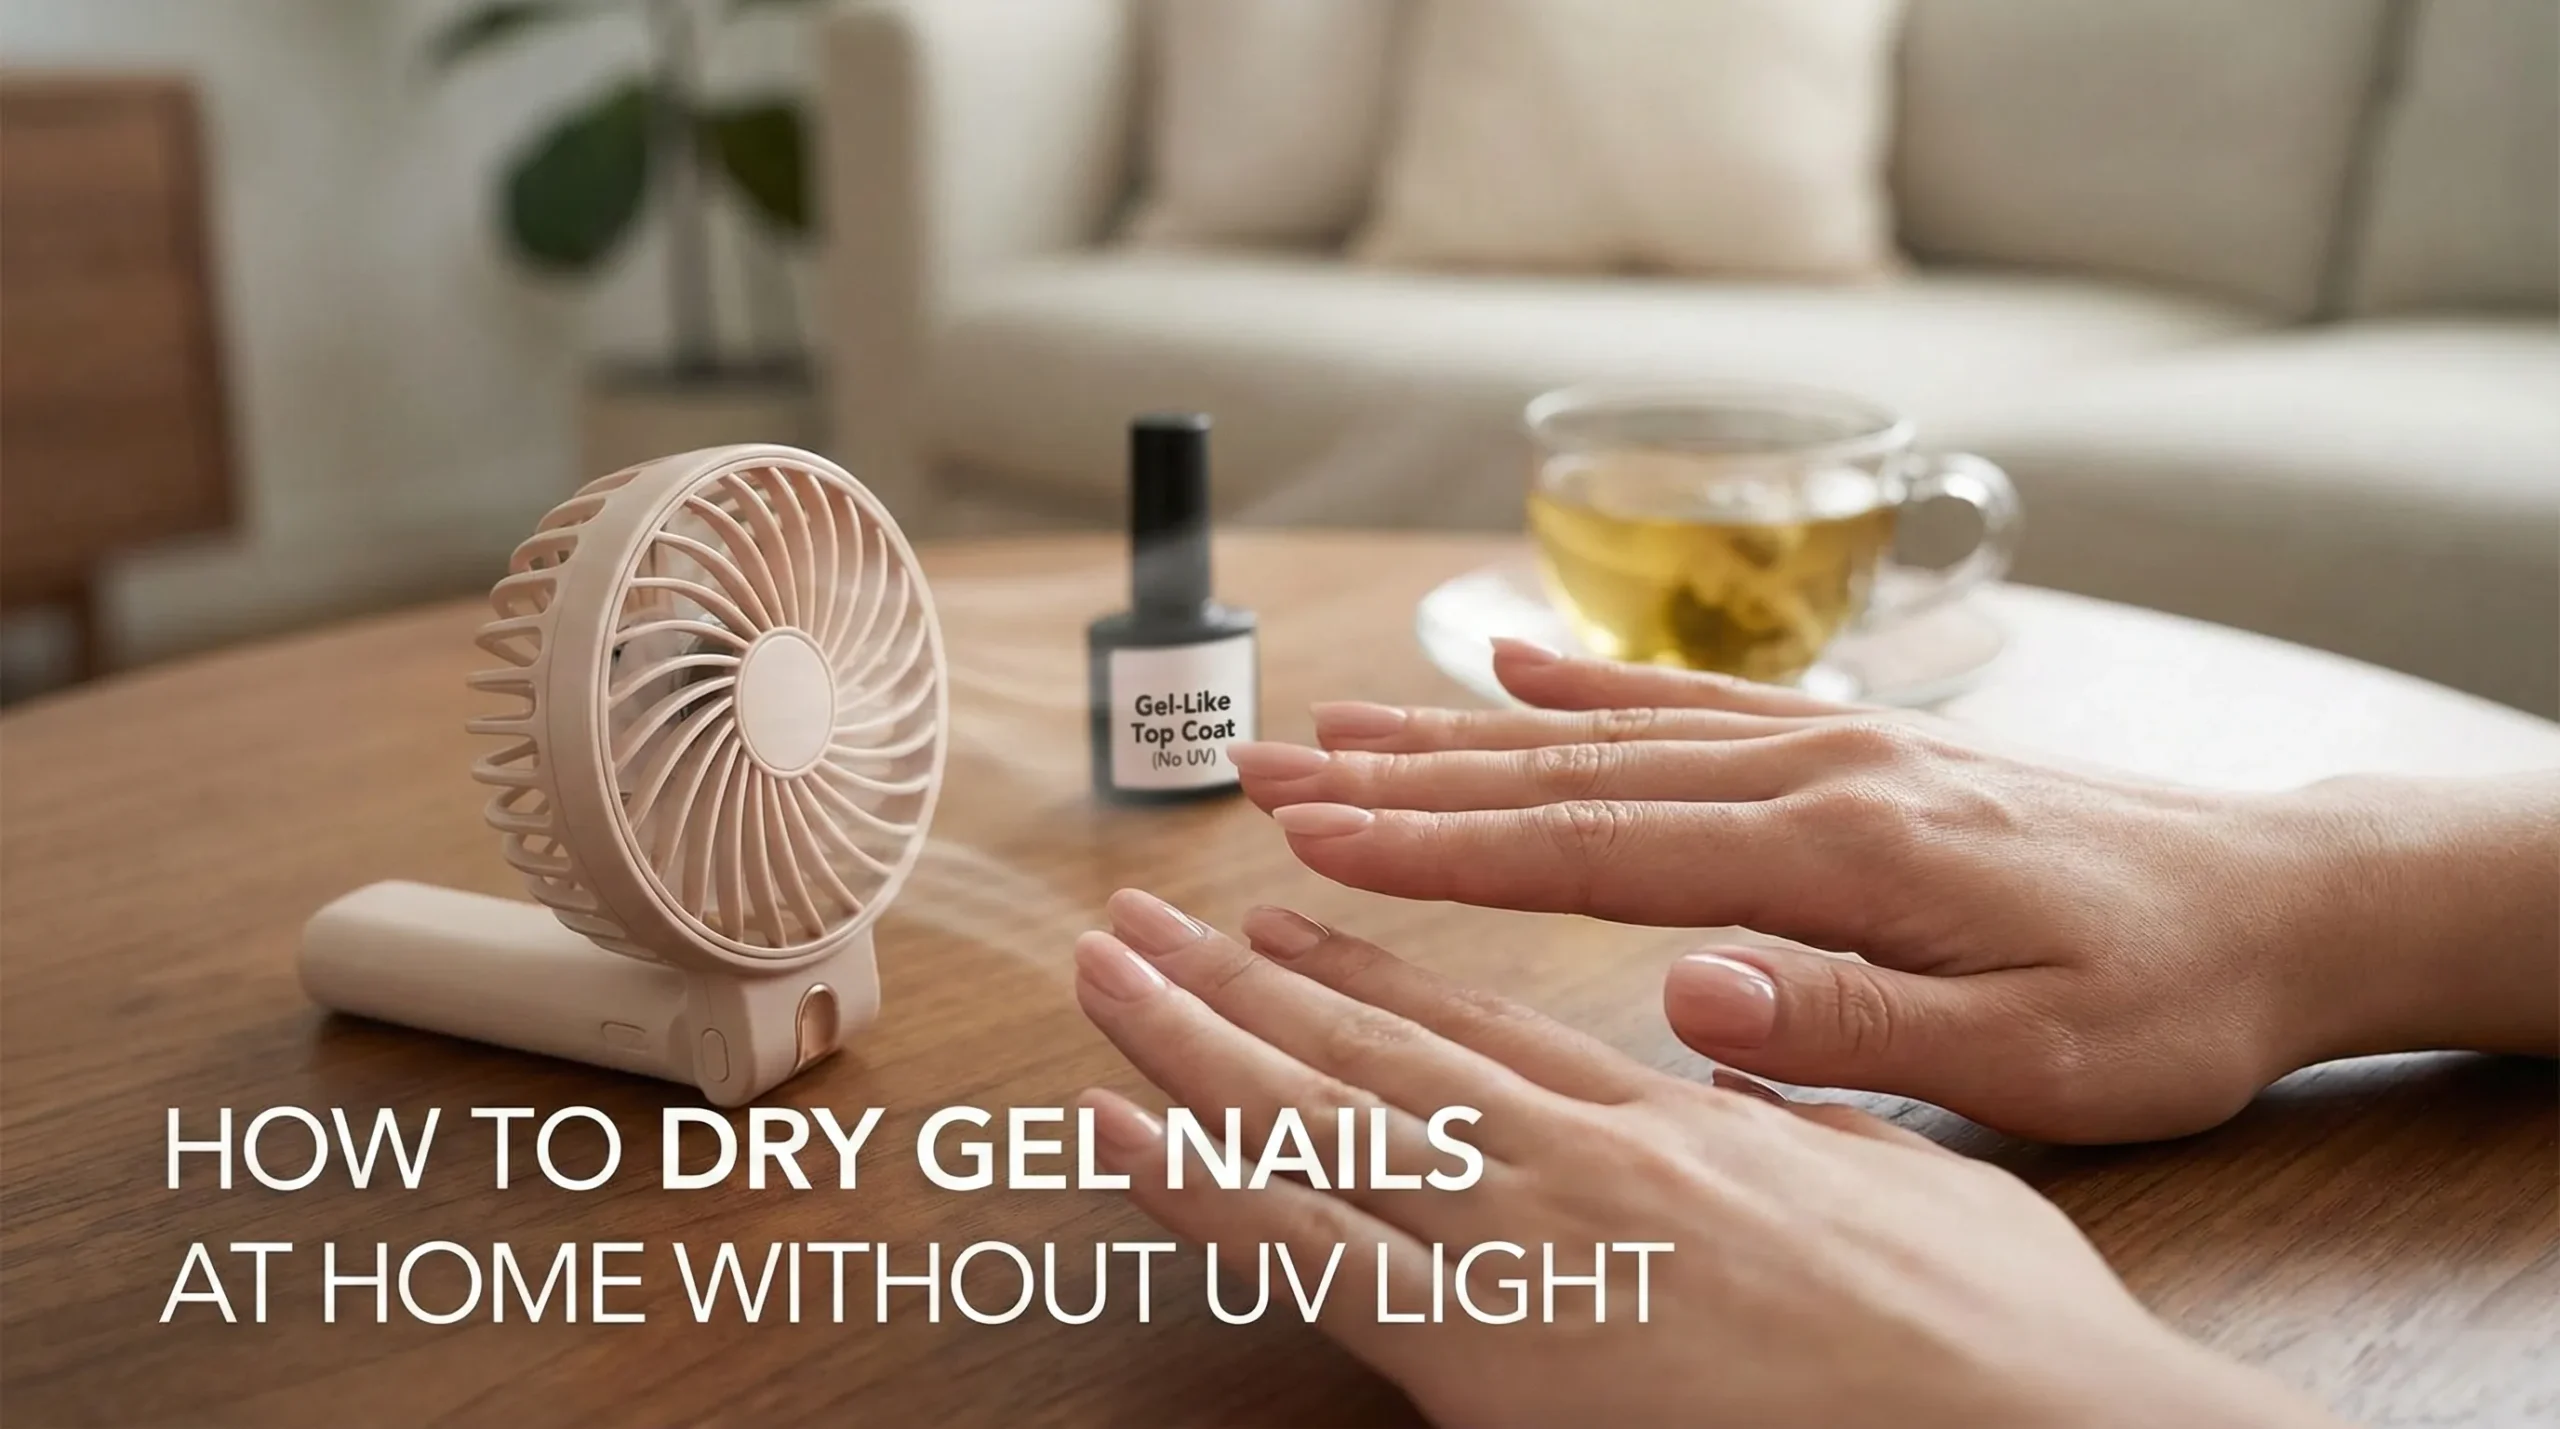
You love the look of gel—glassy shine, smooth color, fewer chips—but you don’t love the idea of buying a lamp, dealing with a complicated removal process, or worrying about nail damage. You’re not alone. Many at-home manicurists want gel nails without UV light for simple reasons: convenience, comfort, sensitivity concerns, and a routine that doesn’t leave nails thin and dry.
The good news is that you can absolutely get a gel-like manicure at home without a UV/LED lamp—as long as you choose the right method and apply it the right way. This guide walks you through what “no-lamp gel” really means, the best UV-free options, and a step-by-step routine that consistently delivers a salon-worthy finish.
If you’ve ever thought, “My polish looks great on day one… then falls apart,” you’ll especially appreciate the prep and technique tweaks below.
Can you really do gel nails without a UV/LED lamp?
Traditional gel polish (the kind used in many salons) is designed to cure under UV or LED light. Without that light, it won’t properly harden—so it either stays tacky, dents easily, or peels prematurely.
So when people search for “at home gel nails without UV light,” they’re usually looking for one of these UV-free realities:
- Gel-effect / long-wear polish systems that air-dry but mimic gel’s shine and durability
- Non-gel alternatives that still give a gel-like finish (wraps, press-ons, dip systems that set chemically)
- Techniques that make regular polish wear longer and look smoother
A helpful rule of thumb: if a product claims it’s “gel” but also says “no lamp needed,” it’s almost always a gel-like formula rather than a true cured gel. That’s not a bad thing—many people prefer it because it’s easier to remove and can be gentler on nails.
If you want the benefits of gel without the lamp, you’re in the right place.
The best UV-free ways to get gel-looking nails at home
There isn’t one perfect solution—there’s the best solution for your lifestyle and nails. Here are the most reliable no-UV gel nail options.
Gel-effect polish systems the easiest “gel look,” no lamp
These are usually a two-step routine: color coats plus a high-gloss top coat designed to create a plump, gel-like finish. Many readers love this route because it feels like “regular polish, but better,” and removal is typically straightforward.
If you want a low-fuss starting point, consider trying a gel-effect system first—it’s the closest match to salon gel vibes without committing to a lamp.
Regular polish + the right base and top coat surprisingly powerful
If your polish chips fast, it’s often not the color’s fault—it’s the foundation and finishing strategy. A ridge-smoothing or bonding base coat plus a durable, glossy top coat can dramatically improve wear and give that “smooth as glass” look.
This is also the most flexible option because you can use almost any shade you already own.
No drying time drama nail wraps
Wraps are thin adhesive films you press onto the nail. They’re popular for a reason: they’re quick, tidy, and can look extremely clean—especially for minimal designs or solid colors.
They can lift early if nails are oily or if you soak your hands a lot, but with good prep and a sealing top coat, many people get a solid week or more.
Press-on nails instant gel look in minutes
Press-ons can deliver the most dramatic “just left the salon” look—especially when you want length, shape, or a flawless finish without painting at all. They’re also a go-to for people who bite their nails or can’t grow them.
If you’re short on time, you might explore modern press-ons as your fastest route to a glossy, gel-like manicure—just be mindful of gentle removal.
Dip systems – no UV light, but not “gentle by default”
Dip manicures don’t require UV light, which sounds ideal—yet the adhesives involved can trigger irritation for some people, and removal usually involves soaking in acetone. They can also be unhygienic in salon settings if powder is reused between clients. at home, you control that.
Dip can be a great fit if you prioritize durability, but it’s worth approaching thoughtfully—especially if you have sensitive skin or a history of product reactions.
How to do a no-lamp gel manicure at home that actually lasts
The secret to gel-looking nails without UV light isn’t a single “magic product.” It’s a routine: nail prep that prevents lifting, thin coats that dry properly, and finishing steps that lock everything in.
Where most at-home manicures win or lose
Start by removing old polish thoroughly, then wash your hands and dry well. After that, try to avoid oily hand creams until you’re finished painting save the moisture for the end.
Shape your nails with a file using controlled strokes. If your nails peel easily, filing in one direction can be gentler. Aim for a shape you can maintain—many people find slightly rounded edges resist chipping better than sharp corners.
Next, address cuticles. You don’t need aggressive cutting to get a clean look. Softening the cuticle area and gently pushing back overgrowth helps polish sit neatly and last longer, because it reduces the chance you’ll paint onto skin which can cause lifting.
If you have ridges or surface unevenness, lightly buff—think “soft blur,” not “sanded down.” Over-buffing can thin the nail plate and make nails more prone to splitting.
Finally, remove dust and dehydrate the nail surface. A quick swipe with alcohol or remover on a lint-free pad helps polish adhere. This step alone often adds days of wear.
Thin coats and clean edges(the application)
Apply your base coat in a thin, even layer and let it dry. If your nails are ridged, a ridge-filling base helps create that smooth, “gel overlay” look. If your nails are prone to peeling, a bonding-style base can help color grip.
When you apply color, the goal is thin coats that level themselves. Thick coats feel faster, but they’re more likely to dent, wrinkle, or stay soft underneath.
A technique that helps: place a small bead of polish slightly away from the cuticle, then gently guide it upward without flooding the skin, and pull down the nail in smooth strokes. Keeping a hairline gap around the cuticle area looks cleaner and reduces lifting.
After each coat, give it time. Many at-home chips happen because the surface feels dry, but the layers beneath are still soft. A few minutes between coats can make your manicure noticeably tougher.
Before moving on, cap the free edge: lightly drag the brush along the nail tip. This helps prevent the most common failure point—tip wear.
The “gel look” comes from the top coat
A high-gloss top coat is what creates that gel-like shine and “plump” finish. Apply it carefully, cap the edge again, and then let your nails fully set.
Try to avoid hot water, long showers, or heavy cleaning right after painting. Water and heat can soften fresh polish and shorten wear.
If you’re always smudging, consider fast-dry drops or a quick-dry top coat. The less time your manicure stays vulnerable, the better it will look all week.
How to make UV-free gel nails last longer without babying your hands
Long wear isn’t only about what you paint—it’s how you treat your nails afterward.
Wear gloves for dishwashing and cleaning when you can. Frequent soaking and detergents are a fast track to peeling. Also, try not to use your nails as tools (opening cans, scraping labels, prying things up). Many people are shocked how much longer their manicure lasts when they switch to using fingertips or a small tool instead.
Add a little maintenance, too: a thin layer of top coat every few days can refresh shine and reinforce the tips. It’s a small effort that often prevents the “day five downfall.”
And moisturize strategically. Use cuticle oil or a richer cream daily (especially after washing hands), but avoid applying oil right before you paint, because it can interfere with adhesion.
Keep the shine, not the damage
One major advantage of gel-like nails without UV light is removal can be much gentler than salon gel—if you do it patiently.
For gel-effect or regular polish, saturate a cotton pad with remover (acetone works faster; non-acetone can be gentler but may take longer). Press it onto the nail for a few seconds, then wipe with steady pressure. If color is stubborn, hold the pad on the nail a little longer rather than scrubbing aggressively.
If acetone dries your skin, protect the cuticle area first with a thicker balm or oil, and wash hands afterward before re-moisturizing.
For wraps, gentle lifting with remover and slow peeling helps prevent surface damage. For press-ons, soaking in warm water with a bit of oil can help loosen adhesive—prying is what causes the most harm. For dip systems, follow the manufacturer’s soak-off method and resist scraping; scraping removes layers of your natural nail along with the product.
If your nails feel dry after any removal method, give them a recovery window: oil, moisturizer, and a short break before the next set can make a big difference in strength and smoothness.
Why your “no lamp gel nails” aren’t working and the fix it
Most at-home issues come down to a few repeat culprits:
- Peeling at the cuticle: You likely painted onto skin or had oil/moisture on the nail. Keep a clean border near the cuticle and dehydrate the nail plate before base coat.
- Chipping at the tips: The free edge wasn’t capped, or nails are being used as tools. Cap every layer and protect tips during chores.
- Bubbles or texture: Often from shaking the bottle, thick coats, or overworking the brush. Roll polish between palms instead of shaking, and use thinner coats.
- Dents and smudges hours later: Layers were too thick or not fully dry. Add time between coats and consider a faster-drying top coat.
- Polish looks bumpy over ridges: Use a smoothing base coat and avoid heavy buffing. The goal is leveling, not thinning your nails.
If you fix only one thing, fix prep. Ignoring prep is the fastest way to waste time and product—because even the best polish won’t cling to an oily, uneven surface.
What to look for when shopping without getting overwhelmed
If you’re building a simple kit for at-home gel nails without UV light, focus on performance basics rather than hype.
Look for clear labeling like “no lamp needed” and “gel-effect” if you want the gel look with air-dry convenience. A wide, rounded brush can make clean application much easier. If you struggle with ridges, a smoothing base coat is often worth it. If you struggle with chips, prioritize a tougher top coat and plan for that midweek refresh.
If you’re considering dip products, wraps, or press-on adhesives and you have sensitive skin, it’s smart to patch-test and stop if you feel burning, itching, or swelling. Nails are cosmetic—but irritation can linger and affect nail growth.
Conclusion
You don’t need a UV lamp to have nails that look polished, professional, and durable. With the right no-lamp method—and a routine built on smart prep, thin coats, and a strong top coat—you can get a gel-like manicure at home that feels like an upgrade every time you glance at your hands.
Choose one approach that fits your life this week such as gel-effect polish, a stronger base/top coat combo, wraps, or press-ons, try it once with the technique in this guide, and see how much longer your manicure lasts. When you’re ready, refine your kit based on what your nails love most—and enjoy the confidence of salon-style shine, without the UV light.


