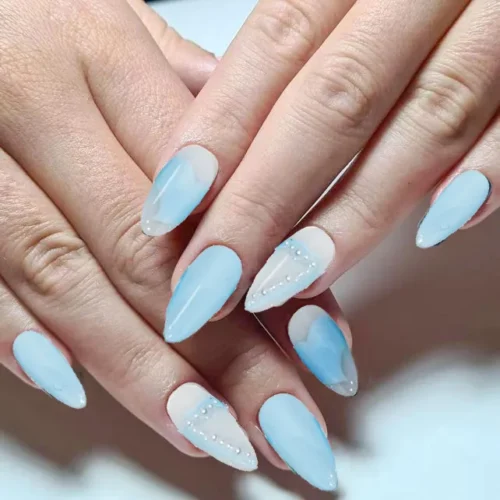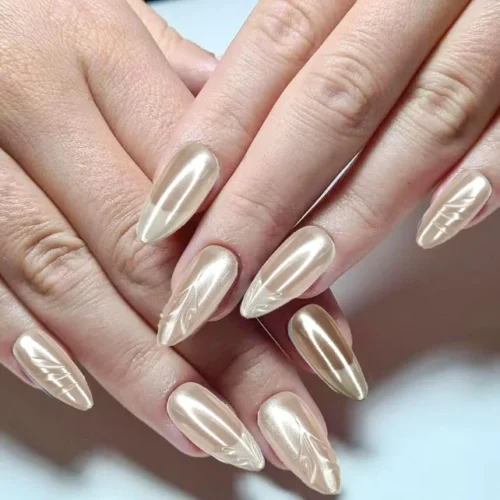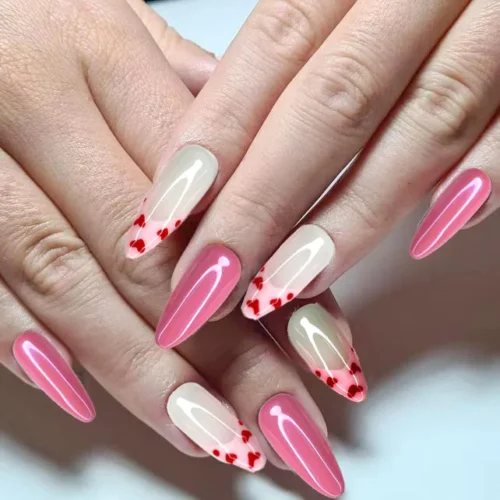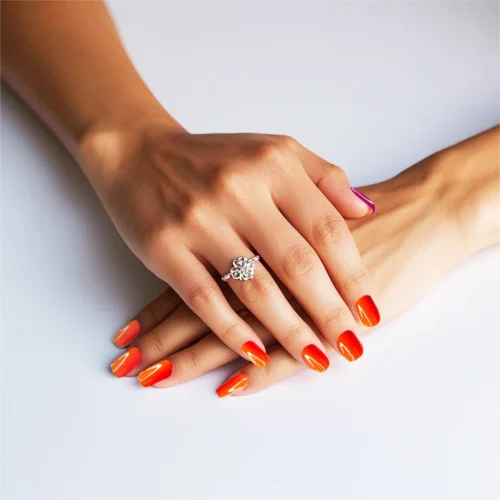

If your new set looks gorgeous but your fingertips are throbbing, you’re not alone. Press-on nails should feel comfortable; pain is a red flag that something about the fit, prep, or wear routine needs adjusting. The upside? Most causes of press on nails pain are easy to fix with small adjustments at home. In this guide, you’ll learn exactly why press-ons hurt, how to stop the ache fast, and how to apply them pain-free next time without giving up on length, style, or staying power.
Consider this your calm, confidence-boosting roadmap to a press-on manicure that looks salon-level and feels like nothing at all.
Why do press-on nails hurt? Quick Answers
- Immediate, tight, pulsing pain right after application usually means the nails are too small or too curved for your natural nail, so they’re squeezing the nail plate.
- Stinging, itching, or redness around the skin points to an adhesive sensitivity or glue touching the skin.
- A dull ache that builds during the day can come from trapped air or moisture under the nail or simply too much length creating leverage.
- Sharp tenderness when you bump your nails often means over-buffing thinned the natural nail or there’s an existing crack or split beneath the press-on.
- Warmth, spreading redness, odor, or greenish discoloration can signal infection. Remove the nails and seek professional guidance.
If the pain is more than mild or you see worrisome skin changes, remove the set now. Your comfort and nail health come first.
What Causes Press-On Nail Pain
Your natural nail plate is relatively flat from side to side, with a gentle “C-curve.” Many press-ons are pre-shaped with more curve. When a small or highly curved tip is glued to a flatter nail, it clamps down like a spring. That constant lateral squeeze compresses nerves and blood vessels in the nail bed, which your brain reads as pain.
Two more forces add up:
- Leverage: Longer or more tapered shapes turn everyday taps (typing, opening cans) into mini pry-bars on the adhesive and nail bed.
- Swelling and moisture: Water makes both the natural nail and some adhesives swell, briefly increasing pressure and lifting. That’s why pain often spikes after a hot shower if you applied the set too soon beforehand.
Understanding these mechanics makes the fixes straightforward reduce squeeze reduce leverage and keep moisture where it belongs outside the bond.
The most common reasons press-on nails hurt and how to fix each one
Wrong size or curve mismatch
Symptoms: Throbbing or pinching within minutes of application; soreness at the sidewalls; difficulty bending fingers comfortably.
What to do next time:
- Choose size by side-to-side coverage, not by length. If you’re between sizes, pick the larger tip and file the sides to fit.
- Soften the C-curve. Warm the press-on with a blow-dryer for a few seconds, then gently press it flatter against a clean surface before applying.
- Prefer thinner, flexible tips and short-to-medium lengths if you have especially flat nails. A little flex equals more comfort.
If sizing always trips you up, create a quick “sizing card” for your hands and keep it in the box. Many readers find this saves time and avoids painful guesswork.
Too much glue or glue on the skin
Symptoms: Burning or stinging at the cuticle; itchiness, redness, or small blisters a few hours to a day later.
What to do next time:
- Use less adhesive than you think. A small dot in the center and a tiny swipe near the free edge is enough for day-to-day wear. Avoid flooding the cuticle area.
- Keep glue off the skin. Hold your skin back with a cuticle stick as you place the nail. If glue touches skin, wipe it away immediately.
- Try adhesive tabs or a “sensitive” glue formula if you suspect an allergy. Patch-test on one nail for 24 hours before a full set.
If your skin reacts easily, you might explore peel-and-stick press-ons or tabs first. They’re gentler and easier to adjust.
Over-buffing and thin natural nails
Symptoms: Nails feel tender when tapped; lingering sensitivity even after removal.
What to do next time:
- Switch to a high-grit buffer and stop as soon as the nail looks matte, no more than a few light passes.
- Apply a ridge-filling base coat or nail strengthener, allow it to fully cure, then apply tabs or a light glue layer.
- Choose shorter, softly rounded shapes while your nails recover.
Trapped air or moisture from rushed prep
Symptoms: Uneven, pressure-point ache; nails lift at corners; pain worsens after washing hands.
What to do next time:
- Prep properly: wash hands, dehydrate nails with alcohol, and ensure they are bone-dry.
- Place the tip with a rolling motion from cuticle to free edge while pressing out air. Hold firm, even pressure for 30–45 seconds.
- Keep hands dry for 2–3 hours after application to let the bond settle.
Length and shape that don’t match your lifestyle
Symptoms: Ache after a day of typing; sudden twinges when opening packages; frequent snagging.
What to do next time:
- Shorten the set slightly or pick round/squoval shapes. Less length = less leverage = less pain.
- Use your fingertip pads for typing and grab a tool (not your nails) to pop open cans or lift tabs.
Water exposure too soon
Symptoms: Tightness or tenderness after showering soon after application; lifting at edges.
What to do next time:
- Apply before a period of hands-off time. Bedtime is great.
- Avoid soaking for 24 hours; wear gloves for dishes; dry thoroughly after washing your hands.
Pre-existing nail issues underneath
Symptoms: Pain even without press-ons; visible splits, peeling, or discoloration.
What to do next time:
- Give nails a break and treat the underlying issue. Hydrate with cuticle oil, use a strengthening treatment, and trim back to a comfortable length.
- If you suspect fungal infection, severe dermatitis, or greenish staining under the nail, consult a professional before reapplying any enhancements.
What to do right now if your press-ons are hurting
- Remove them gently. If you used tabs, wiggle a cuticle stick under the side and slowly lift. For glue, massage cuticle oil around edges and soak fingertips in warm soapy water with a few drops of oil for 10–15 minutes. If needed, use the acetone wrap method: place acetone-soaked cotton on the nail, wrap in foil, wait 10–15 minutes, then slide off.
- Soothe and assess. Rinse, pat dry, and apply cuticle oil. If the skin is irritated, a thin layer of 1% hydrocortisone cream can calm mild adhesive reactions. Avoid reapplication until tenderness resolves.
- Rest and rebuild. Give nails 48–72 hours off. Apply a nail strengthener every other day, moisturize with oil, and keep length short to prevent accidental leverage on tender areas.
If you need a manicure while you rest, consider a sheer strengthening polish. Many readers find it gives a finished look while nails recover.
How to size and shape your press-ons for a painless fit
- Measure the widest point of each nail and lay out your tips before you start. Write the size that fits each finger on the packaging for next time.
- Favor a hair larger, then customize. Use a fine file to tailor the sidewalls so the tip nestles beside not on top of your skin.
- Pre-shape the cuticle edge so it mirrors your own. A seamless cuticle line reduces pressure and lifting.
- Test-fit without glue. If you feel squeeze now, you’ll feel pain later. Slightly flatten overcurved tips using brief warmth.
- Keep a tiny free margin. The press-on should sit just shy of the eponychium to avoid pinching and skin contact with adhesive.
Many people snapshot their “nail map” on their phone. It’s a two-second hack that makes every future set faster and comfier.
A pain-free application routine you can trust
- Clean, dry nails; push back cuticles; very light buff.
- Wipe with alcohol and let air-dry fully.
- Apply minimal adhesive, avoiding skin; or place an adhesive tab centered on the nail.
- Place the tip at a slight angle near the cuticle and roll forward to the free edge, pressing out air.
- Hold firm pressure for 30–45 seconds; repeat edge-to-edge presses.
- Avoid water and heavy use for 2–3 hours; ideally apply before bedtime.
You don’t need a dozen tools, just patience, precision, and a light hand with the glue. Many readers report their pain vanished the very first set they applied with this exact routine.
When to see a professional
- Pain doesn’t improve within 48–72 hours after removal.
- Intense redness, warmth, swelling, or pus.
- Green, brown, or black discoloration under a nail.
- Separation of the nail from the nail bed.
- Repeated allergic reactions to adhesives or ongoing skin rashes around nails.
Seeking help early prevents long recovery times and protects your natural nails.
Smart alternatives and upgrades if your nails are sensitive
- Try peel-and-stick or adhesive tabs instead of liquid glue. They cushion the nail plate and reduce chemical exposure.
- Choose softer, thinner, flexible tips and short, rounded shapes.
- Use a ridge-filling base or nail strengthener as a dry barrier layer.
- Schedule “nail holidays”: give yourself 2–3 days bare between sets, especially after long wear.
- Keep cuticle oil and hand cream in your routine. Hydrated nails bend more comfortably and are less prone to painful micro-cracks.
Don’t miss the comfort benefits of shorter, flexible sets. Many people find they can go back to medium lengths pain-free after a few comfortable cycles of short wear and recovery.
FAQ about press-On nails pain
Is a little pain normal?
No. Mild pressure during the first minutes can happen, but ongoing pain is your cue to adjust size, length, or adhesive and often to remove and redo.
Can I reuse a set?
Some do, but reuse can reintroduce old adhesive and bacteria. If you try it, clean thoroughly and watch for irritation. If you’re prone to pain, fresh tips are kinder.
How long should I wait between sets?
At least a couple of days when you’re troubleshooting discomfort. Once you’ve found your painless routine, many people alternate one week on, a few days off.
Can I shower with press-ons?
Yes, after the bond fully sets. Apply before bed, then shower in the morning, and dry hands well afterward.
Conclusion: how to wear press-ons pain-free
Press-on nails hurt when size, curvature, length, or adhesive creates pressure on your nail bed or when skin gets irritated by glue. The fix is simple: pick tips that match your nail width and curve (size up and file), use minimal adhesive that never touches skin, roll the tip on to expel air, hold steady pressure, and keep water away for the first few hours. If your nails are thin or damaged, shorten the length, switch to flexible tips or adhesive tabs, and build in rest days. Remove painful sets gently, soothe with oil, and let nails recover 48–72 hours. Seek professional help for persistent pain, spreading redness, or discoloration. Follow these steps and your press-ons should feel weightless while lasting beautifully.