
If you bite your nails, you probably know the cycle: you hide your hands in photos, catch yourself picking at one tiny snag, and promise yourself this time will be different. Press-on nails on bitten nails can feel like a miracle and a minefield at the same time. Will they stick to super-short nails? Will they look natural around ragged cuticles? Could they make damage worse?
If you are wondering can you put press-on nails on bitten nails, the answer is yes as long as you prep correctly, choose the right shapes, and follow a few non-negotiable safety steps.
Quick answer: Yes, you can put press-on nails on bitten nails if the skin is not bleeding, raw, swollen, or infected. Choose short rounded press-ons, prep the nail plate carefully, keep glue off the skin, press for 30 seconds, repair lifting cleanly, and remove with warm soapy water and oil.
This guide walks you through how to apply, maintain, and remove press-ons on short or damaged nails without causing more trauma. You will also learn when to skip press-ons, how long they realistically last, and how to use them as a simple barrier while you reduce the urge to bite.
Can You Put Press-On Nails on Bitten Nails? The Safe Answer
Press-on nails are safe for most bitten nails when the skin is intact, glue stays off the skin, and removal is gentle.
- There’s no active bleeding, open skin, or signs of infection (redness, swelling, throbbing, pus). If any of these are present, pause the manicure and let the area heal first.
- You keep adhesive off the skin. Glue belongs on the nail plate, not on cuticles or sidewalls.
- You remove press‑ons gently, which protects the thin nail plate underneath.
If your nails are painfully short or inflamed today, give them a few days of TLC moisturize, use cuticle oil, and avoid picking then try again. Many readers find even a week of healing makes application easier and longer‑lasting.
Why Press-On Nails Can Help Stop Nail Biting
- They act as a physical barrier. A smooth, hard surface blocks teeth from reaching fragile edges, giving skin and nails time to recover.
- They reduce “triggers.” With no rough edges to pick at, your brain gets fewer cues to bite. That break can be enough to reset a long‑held habit.
- They’re budget‑ and time‑friendly. A 20‑minute at‑home application can replace a salon visit and keep your hands photo‑ready for special events or everyday confidence.
- They’re customizable. Short, natural‑looking shapes blend in beautifully while your natural nails grow out underneath.
If you’ve tried willpower alone and felt stuck, don’t miss the compounding benefits of a barrier plus a simple routine. Ignoring damaged skin can invite infection; acting now protects both nail health and confidence.
How to Prep Bitten Nails for Press-Ons
To prep bitten nails for press-ons, start before the glue comes out. The single biggest reason press‑ons lift early on short nails is skipping prep.
- Wash, then dry thoroughly. Water swells the nail plate and sabotages adhesion. Clean hands first, then make sure nails are completely dry.
- Gently tidy the cuticle area. Don’t cut living skin. Instead, use a soft pusher to nudge back the thin, transparent cuticle on the nail plate. Trim only true hangnails with sanitized nippers.
- Lightly buff the surface. A few strokes with a fine buffer remove shine and help the adhesive grip. Wipe dust away.
- Dehydrate the nail plate. Swipe each nail with isopropyl alcohol or a nail prep solution. Oils are the enemy of long wear.
- Size the tips carefully. Choose a press‑on that fits sidewall to sidewall without pushing into skin. When between sizes, pick the larger and file the side edges a hair for a custom fit.
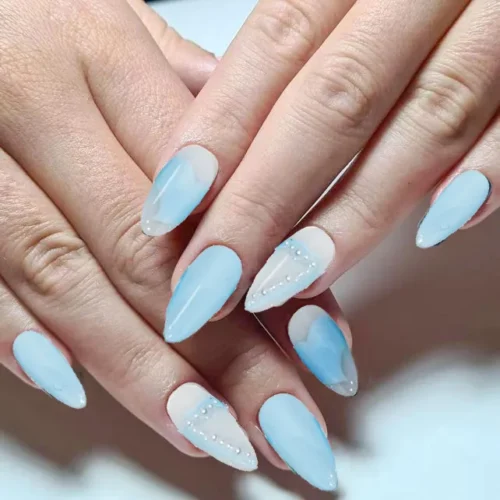
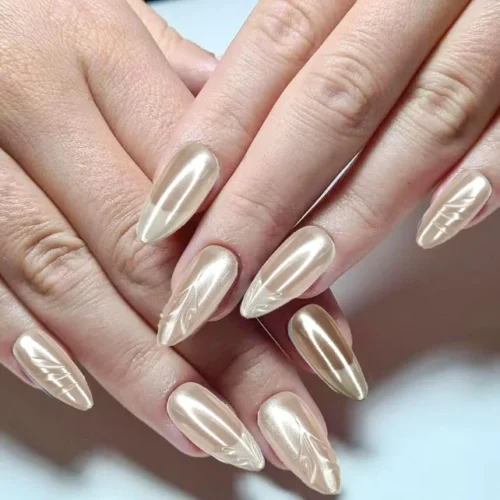
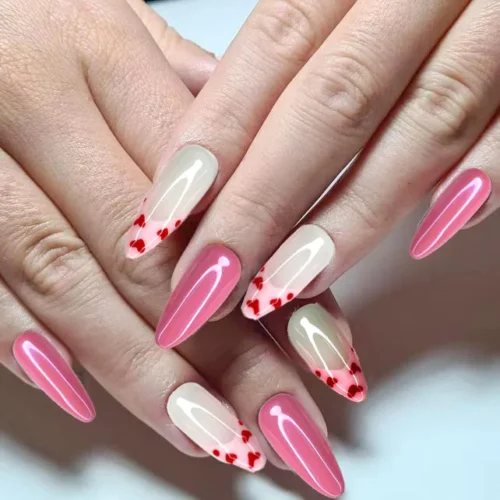
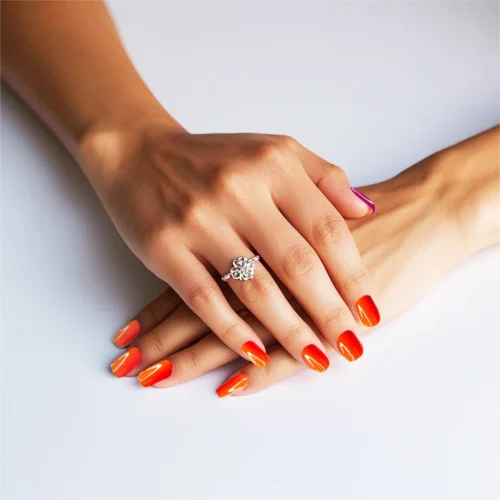
- Choose the right shape and length. For bitten nails, extra short press-on nails in short oval, short almond, or squoval shapes look the most natural and resist snagging. Ultra‑long stilettos on a very short nail plate put too much leverage on a tiny anchor point.
How to Apply Press-On Nails on Bitten Nails
Application technique matters more than nail length. Aim for clean, dry, and precise.
- Pick your adhesive strategy. Adhesive tabs are kinder for sensitive nails and last a few days. Nail glue bonds longer, but requires careful use.
- Use less glue than you think. A thin, even layer on the press‑on, plus a tiny dot on the center of your natural nail, is enough. Avoid flooding the cuticle; glue on skin can cause irritation and lift.
- The 45‑degree roll. Align the tip about a hairline away from the cuticle, set the cuticle edge first at a slight angle, then “roll” the nail down toward the free edge to push out air bubbles. Hold firm pressure for 30 seconds.
- Work one hand at a time. It keeps your pressure consistent and reduces smudges if you add topcoat.
- Perfect the perimeter. If any side overhangs, file from the underside and sidewall, not the cuticle edge. Keep the seam clean and dry.
If your nails are severely bitten with nearly no free edge, lightly “etch” the underside of the press‑on before gluing. That micro‑texture helps grip the nail plate.
How to Make Press-On Nails Look Natural on Bitten Nails
A few optical tricks make short nail beds look longer and more elegant.
- Choose short natural press-on nails in sheer nudes, soft pinks, or medium neutrals close to your skin tone. Harsh color contrasts at the cuticle can emphasize a short nail bed; a seamless tone elongates.
- Try a very soft French or micro‑French. A slim tip line placed slightly higher than the free edge reads longer without looking fake.
- Favor slim, rounded sidewalls. Square corners can catch; softly tapered edges blend with natural growth.
- Leave a hairline gap at the cuticle. Press‑ons look most “real” with the tiniest space from the skin, just like a fresh salon gel.
If you’re worried a bold design will look “fake” on short nails, start natural for your first set. You can always level up once you see how flattering a good fit can be.
How to Fix Lifting Press-On Nails on Bitten Nails
Relapses happen. The key is to repair, not rip.
- At the first sign of lifting, don’t push glue into the gap. Remove the nail completely, cleanse your natural nail with alcohol, scrape away softened glue gently, and reapply fresh adhesive.
- Carry a mini rescue kit. A few tabs, a tiny glue, a wooden stick, and a file can save a lifting nail discreetly at work or dinner.
- Keep edges oiled, not sticky. Dry skin invites picking. A drop of cuticle oil morning and night keeps things smooth and less tempting to fiddle with.
How to Remove Press-On Nails from Bitten Nails Safely
How you take press‑ons off matters as much as how you put them on.
- Soften first. Soak fingertips in warm, soapy water with a little oil for a few minutes. Gently wiggle each tip as it loosens.
- Never force it. If a nail resists, soak longer. For glue residue, use a wooden stick to nudge softened glue away, then buff very lightly.
- Skip aggressive prying and long acetone baths. Over‑soaking in pure acetone can dry already‑fragile nails; a short, targeted soak for stubborn spots is fine, but water‑and‑oil is kinder overall.
- Seal the session. Wash, then apply cuticle oil and a light hand cream. If you’re going natural for a bit, a strengthening base coat adds a protective shield.
Done properly, you don’t need a “break” between sets. What you do need is gentle, patient removal.
When Not to Use Press-On Nails on Bitten Nails
Press‑ons are fantastic, but not for every situation. Hit pause and consider alternatives if you have:
- Active infection, raw or bleeding skin, or painful swelling around nails. Treat and heal first; adhesives don’t belong on compromised skin.
- A history of adhesive allergies or severe reactions to cyanoacrylate glues. Try adhesive tabs only, or consult a professional for hypoallergenic options.
- Significant nail separation from the nail bed or chronic splits. A professional overlay may protect better as you grow out damage.
Alternatives many nail biters love:
- Structured gel overlays or short soft‑gel extensions. Applied by a trained tech, these create a smooth, durable barrier while your natural nails grow. They can be less likely to lift or catch, which reduces picking triggers.
- Habit‑reversal helpers. Bitter‑tasting nail treatments, cuticle balms you can reapply frequently, and simple fidgets can all support the “no‑bite” streak press‑ons start.
If you’re unsure, a quick consult with an experienced nail tech or dermatologist can save you months of frustration.
How Long Do Press-On Nails Last on Bitten Nails?
Realistic expectations prevent disappointment. On short, bitten nails:
- Adhesive tabs usually wear 1–5 days.
- Nail glue can last 7–14 days with great prep and gentle use.
Frequent hand‑washing, hot showers, and steamy workouts shorten wear. Aim to keep hands fairly dry for the first hour after application, wear gloves for dishes, and avoid using nails as tools (no can‑opening cameos). If you work with your hands a lot, short rounded shapes hold up best.
Press-On Nails for Bitten Nails: Cost, Time, and Hygiene
A quality set of press‑ons typically costs less than a single salon manicure and can be reused if you’re gentle with removal. Plan on 20–30 minutes for sizing, prep, and careful application and faster once you’ve done a couple of sets.
Hygiene is non‑negotiable for nail biters. Because biting can compromise the protective seal at the fingertip, be extra alert to signs of irritation. Keep the area scrupulously clean and dry under the nail; if you see persistent redness, swelling, or pain, remove the nail and let the area heal before reapplying. When in doubt, seek professional advice promptly.
Pro Tips to Make Press-Ons Last on Bitten Nails
- Etch, then dehydrate. A quick scuff on both the nail plate and the inner press‑on contact area improves grip dramatically.
- Use a nail dehydrator or pH bonder if you run oily. It boosts longevity, especially on thumbs and index fingers.
- Shape from the free edge, not the cuticle side. Preserve that factory‑smooth cuticle curve; it’s the secret to a salon‑real finish.
- Float a blending topcoat. A thin layer of clear topcoat across the seam can visually “melt” the press‑on into your nail and protect edges.
- Respect the sidewalls. If the press‑on pushes into skin, file it narrower. Pressure on the sidewalls equals early lift and a picking trigger.
- Keep a “no‑water window.” Avoid long soaks or steamy workouts for at least 60 minutes after application; adhesives set best in dry conditions.
These tiny tweaks are the difference between “looks fine” and “are those your real nails?”
4-Week Press-On Nail Routine for Nail Biters
Week 1: Start with a short, natural set. Focus on perfect prep and zero glue on skin. Oil your cuticles morning and night.
Week 2: If the shape worked, repeat. If you caught yourself picking, try a slightly rounder shape and keep a mini kit in your bag for instant, clean repairs.
Week 3: Try a soft color change or micro‑French to keep it fun. Consistency, not drama, grows healthy nails underneath.
Week 4: Evaluate growth. If your natural nails look calmer and longer, you can keep rotating press‑ons or explore a professional short overlay for extra protection as you fully retire the biting habit.
Conclusion: Press-On Nails Can Work on Bitten Nails
Yes, you can put press-on nails on bitten nails safely and beautifully if you start with healthy skin, prep carefully, and apply with precision. Choose short, rounded shapes; use thin, targeted adhesive; roll the tip on to avoid bubbles; and keep glue off the skin. Fix lifts by removing and reapplying cleanly, never by forcing glue into gaps. Remove with warm, soapy water and patience, then oil and protect. If skin is raw or you’ve had reactions to glue, pause and consider a professional short overlay while you heal. Paired with a simple “hands‑off” habit and daily cuticle care, press‑ons can be the friendly barrier that helps you finally stop biting and start loving your hands again.
FAQ: Press-On Nails on Bitten Nails
Can press-on nails help stop nail biting?
Yes. They can help by creating a smooth barrier that blocks biting and reduces rough edges that trigger picking.
Are press-on nails safe for bitten nails?
They can be safe if the skin is intact, glue stays off the skin, and removal is gentle.
Should I use glue or adhesive tabs on bitten nails?
Use tabs if your nails are sensitive or you want gentle removal. Use glue if you want longer wear and can apply it carefully.
What shape is best for bitten nails?
Short oval, short almond, and squoval shapes are usually the most natural and least likely to snag.
Can I put press-ons on raw or bleeding skin?
No. Wait until the skin heals first.
How do I remove press-ons without damaging bitten nails?
Soak in warm, soapy water with a little oil, gently wiggle them loose, and never pry.