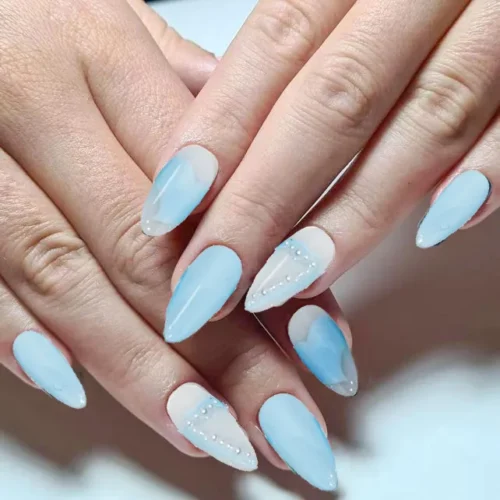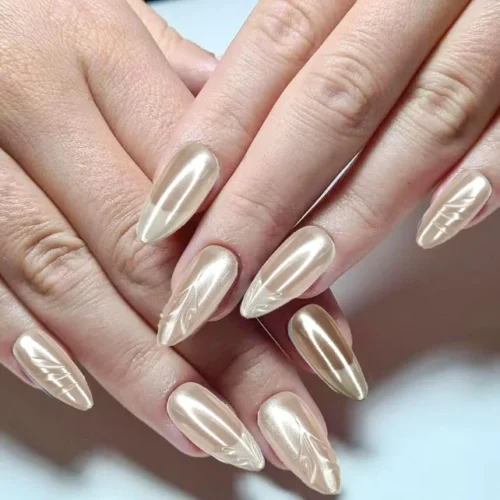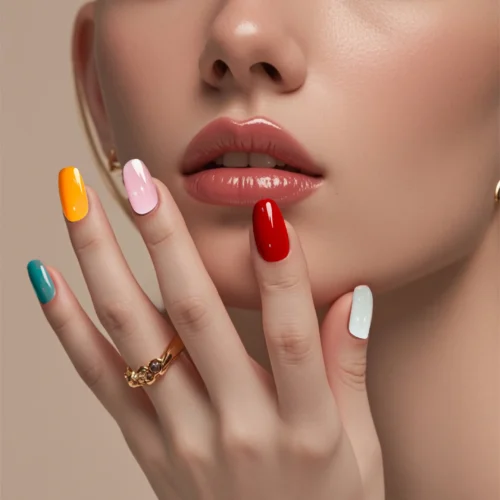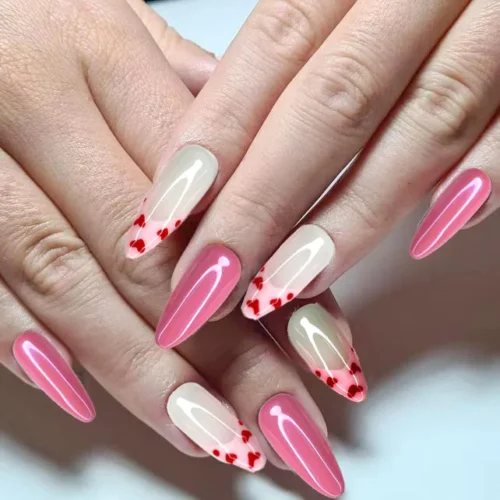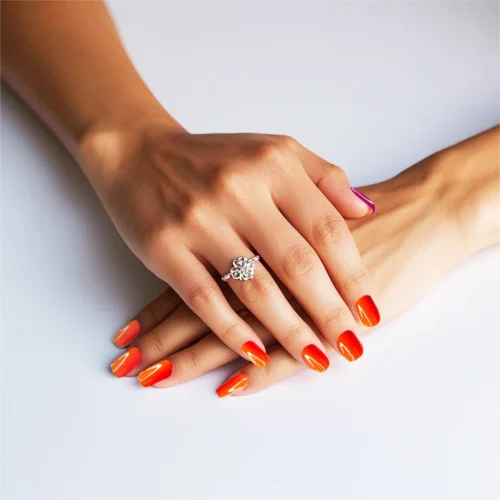

If your nails split, peel, or bend at the slightest bump, a bulky press-on can feel like a risk you can’t afford. The good news: you don’t have to sit out the press-on renaissance. With the right lightweight styles and a gentler routine, press-ons can actually shield fragile nails from day‑to‑day knocks without adding stress or causing post‑wear damage.
This guide shows you how to choose the best press-on nails for weak nails, which shapes and finishes are kindest, and how to remove them without regrets. Along the way, you’ll find low‑pressure, practical tips to help your next set look believable, last longer, and leave your natural nails better than they started.
Why weak nails need a different press-on strategy
Weak nails aren’t just “thin”; they tend to dehydrate easily, peel in layers, and flex under pressure. That means two things for press-ons:
- Weight and length matter more. Extra mass and leverage act like a tiny crowbar on the free edge. The longer or heavier the tip, the more torque on the nail bed.
- Removal is everything. Most damage happens when press-ons are taken off too soon or too roughly, not when they’re on. A lightweight set with easy, planned removal will almost always beat a thick, ultra‑long set that overstays its welcome.
If you’ve given up after a few painful pop‑offs, consider this your reset: choose lighter, shorter, and flex‑friendly designs and pair them with a damage‑smart routine.
How to choose lightweight press-ons that protect fragile nails
A gentler press-on starts before you ever open the glue. Look for these features on the box or product page:
- Thin, tapered cuticle edge. A “thin cuticle taper” or “seamless cuticle” creates a flush fit so hair and sleeves don’t catch.
- Flexible material. Many press‑ons use ABS or similar plastics. You want a medium flex that hugs the nail plate without bowing. If you can gently bend the tip and it springs back without whitening, you’re in the sweet spot.
- Short to super‑short lengths. For weak nails, short is not negotiable. A short length keeps the center of mass closer to the nail bed, dramatically reducing force on the corners.
- Natural, rounded sidewalls. Sidewalls that mimic the curve of your nail reduce pressure at the edges where peeling often starts.
- A soft, contoured C‑curve. Press‑ons with a gentle arch sit better on flat nail plates; highly arched tips can pinch and lift. If your nails are very curved naturally, pick tips labeled “curved” or “high‑arch”; if they’re flat, look for “flat‑fit” or “flex‑fit.”
The best press-on nail shapes for thin and weak nails
Your shape choice can make or break wear time when nails are fragile.
- Round and short oval: The most forgiving for everyday use. Rounded corners reduce snagging and sidewall stress.
- Soft squoval: Great if you like a hint of square but want kinder corners. Keep the length at or just past your fingertip.
- Short almond: Works if you prefer a slightly elongated look. Keep the apex centered and the tip softly rounded to prevent pokes that catch on clothing.
If your nails peel at the edges, skip sharp square and long coffin shapes for daily wear. Save them for special occasions with adhesive tabs and plan a short wear window.
Try a short round or soft squoval set first to learn how your nails behave under a press‑on. Once you’re getting a week of comfortable wear, experiment with a short almond or micro‑French.
Glue vs. adhesive tabs: what’s gentler for weak nails?
Both can work the right choice depends on your goals
- Adhesive tabs: Best for fragile nails and short wear (1–5 days). They’re cushiony, add almost no weight, and peel away with warm water and oil. Downsides: slightly less “locked‑in” hold and not ideal for long, heavy designs.
- Nail glue: Gives a stronger, longer hold. Downsides: can be drying, and removal requires patience. You must avoid twisting or prying.
Hybrid option for events: Place a thin adhesive tab on the nail and add a micro‑dot of glue to the press‑on’s center. This increases hold while keeping removal kinder. If you’re new to press‑ons or your nails are very weak, start with tabs only to learn the ropes.
If you’ve had damage with glue, try tabs for weekday wear and reserve glue for a big event. Many readers find this “two‑tier” approach reduces breakage and anxiety.
How to prep weak nails for press-ons without damage
You do not have to etch your nails to keep press‑ons on. Prep should be clean, dry, and minimal:
- Clean and dry. Wash hands, then scrub nails with a gentle brush. Dry thoroughly.
- Push back, don’t cut, cuticles. Use a wooden stick to lift any invisible cuticle from the nail plate; it’s a major cause of lifting.
- Buff lightly with a 240‑grit buffer. You’re removing surface shine only, not thinning the nail.
- Dehydrate with alcohol. Wipe with 70% isopropyl or a prep pad. Avoid pure acetone on very weak nails; it’s extra drying.
- Size carefully. Choose the piece that fits edge‑to‑edge without pressing into the sidewalls. If in doubt, size down and softly file the sides of the press‑on to match you.
- Underside detail. A few gentle swipes under the press‑on’s cuticle edge improves fit and eliminates that tell‑tale step.
Pro tip: If your nails are extremely sensitive, consider a peel‑off base coat as a temporary barrier under tabs for 1–3 day wear. Skip barriers if you want longer wear with glue.
How to apply press-on Nails safely on weak nails
Little technique tweaks go a long way on weak nails.
- For tabs: Apply the tab to your natural nail, press firmly, then peel the film. Seat the press‑on at the cuticle first and rock it forward to the tip. Hold 30–40 seconds. Do thumbs last.
- For glue: Use the smallest possible amount, since a tiny bead in the center of the press-on often suffices for short lengths. Avoid flooding the cuticle area. Seat from cuticle to tip and hold steady pressure for 30–60 seconds. Wipe any squeeze‑out with a dry cotton swab.
- Aftercare window: Avoid hot water, lotions, and oils for 2–3 hours so the bond fully sets. If possible, apply in the evening to let the adhesive cure overnight.
Keep a mini kit in your bag. Reseating a corner early prevents a full lift later.
Lightweight press-on styles for fragile nails
Not all “lightweight” looks boring. These wearable styles stay kind to fragile nails while still feeling fresh.
- Your‑nails‑but‑better sheer. Short round tips with a sheer pink, beige, or milky wash visually smooth ridges and look ultra‑natural. Perfect for first‑timers or office‑friendly days. Consider trying a “short/ultra‑short” sheer set for a nearly undetectable upgrade.
- Micro‑French on short oval. A whisper‑thin tip line on a neutral base elongates without adding bulk. The soft oval reduces snag points that classic square French can create.
- Glazed tint. A barely‑there pearl sheen on short oval or squoval gives you the trend without the weight or bumpiness of 3D accents.
- Soft monochrome nudes. Solid, light neutrals in shorter lengths look most “real.” Choose a tone that matches or is one shade deeper than your nail bed for a believable finish.
- Minimal accents only. If you love art, pick sets where embellishments stay near the center, not at the edges that catch hair and sweaters. Keep gems tiny and flat.
- Short almond neutrals. When you want a little drama, a short almond in a neutral blush or cocoa slims the fingers while staying practical for typing and everyday tasks.
When in doubt, skim product photos shot from the side. If the tip looks thick or the cuticle edge sits high, skip it. Choose sets that show a thin edge taper and a soft profile.
How to remove press-on nails without damaging weak nails
Set a timer. Patience is your best tool.
- For adhesive tabs: Soak hands in warm, soapy water for 10–15 minutes. Massage cuticle oil along the edges. Gently slide a wooden stick from the sidewall toward the center; do not pry from the tip. Add more oil and water as needed until the nail releases.
- For glue: Start with the same warm, soapy soak and oil. When edges lift, ease a wooden stick under the side and slowly walk it toward the center with oil. If resistance persists, stop and soak longer. Use an adhesive remover or a small amount of acetone only as a last step, and support the nail plate from below with your fingertip to avoid bending.
Never twist, snap, or “pop” press‑ons off dry. That’s what tears top layers and leaves nails worse. If you’re rushing, leave them on and try again later because rushing removal is where most damage happens.
Plan your removal during a calm moment. Giving yourself 20–30 relaxed minutes pays off in healthier nails.
Nail recovery tips after press-on removal
Recovery windows pay dividends. After removal:
- Seal and smooth. Use a fine glass file to smooth any peeling layers at the free edge. Always file in one direction.
- Rehydrate daily. Massage cuticle oil around the nail and under the free edge once or twice a day; follow with a hand cream. Oils with lighter esters sink in fast and don’t leave you greasy.
- Keep them short. Trim or file to a practical length while they rebound. Short nails break less and grow stronger.
- Wear gloves for chores. Hot water and detergents are moisture thieves; a simple glove habit slows peeling dramatically.
- Space your sets. Aim for a 24–48 hour breather between back‑to‑back sets so nails can rehydrate.
If you notice persistent pain, discoloration, or thickening under the nail, pause press‑ons and check in with a professional. It’s better to skip a week than to nurse a months‑long issue.
Common weak nail problems with press-ons
- Corners keep lifting. Recheck sizing; a tip that’s even slightly too wide will pop at the edges. Size down or softly file the press‑on sidewalls to match your nail shape.
- Hair snags at the cuticle. Gently buff the press‑on’s underside cuticle edge before application and press longer during application to seat the seam. A tiny line of clear, non‑thickening topcoat brushed at the seam can also help.
- Press‑ons feel tight or throb. The C‑curve is too strong for your nail. Switch to “flat‑fit” styles, or very lightly pre‑curve the tip by warming it in your hands and flexing microscopically. If it whitens, you’ve gone too far.
- Cloudy white patches after removal. That’s dehydration, not necessarily damage. Oil twice daily for a few days; it usually clears quickly.
- Nails won’t last more than a day. Increase prep, avoid water for several hours post-application, and consider a hybrid hold on the press-on only instead of on your natural nail.
Keep notes on which shapes, lengths, and techniques worked. Your “weak nail playbook” will make future sets nearly foolproof.
Conclusion
Lightweight press-ons can absolutely work for weak nails when you pair short, rounded shapes with a thin, tapered cuticle edge and a flexible fit. Start with adhesive tabs for stress‑free wear, reserve glue for special occasions, and focus on gentle prep (clean, minimal buff, alcohol wipe) plus a calm, oil‑aided removal. Choose short round, soft squoval, or short almond styles in sheer or soft neutral finishes for the most natural, low‑maintenance look. Rehydrate with cuticle oil, wear gloves for chores, and give nails brief breaks between sets; your manicure will look fresher and your natural nails will steadily improve.