
Fake nails can be a confidence boost in minutes longer fingers, a polished look, instant “put together.” But if you’ve ever removed a set and found your natural nails thin, peeling, or strangely rough, you already know the tradeoff can feel brutal.
The good news that most “fake nail damage” isn’t inevitable. In many cases, it’s the result of over-prep, harsh removal, or wearing enhancements past the point where they’re still securely bonded. With the right approach, you can enjoy press-ons, gel, dip, or even acrylics while keeping your real nails strong and healthy underneath.
This guide walks you through what actually causes damage, how to choose the least-damaging option for your lifestyle, and the application/removal habits that make the biggest difference. If you want the look without paying for it later in brittle, peeling nails start here.
What really damages your nails (it’s usually not the “fake nail” itself)
Your natural nail plate is made of layered keratin. It’s tough, but it’s also easy to weaken when you repeatedly strip layers away or dehydrate it. When people say fake nails “ruined” their nails, it typically comes down to one (or more) of these issues:
- Aggressive prep. Many systems require roughening the surface so product adheres. If the nail is heavily filed or over-buffed, you’re thinning the plate before anything even goes on. That’s why nails can feel bendy or sore afterward there’s simply less protective keratin left.
- Harsh removal. Peeling, popping, or ripping off enhancements can take layers of your nail with them, leaving rough patches and peeling edges. Even when you “get away with it” once, repeated trauma adds up.
- Dehydration from solvents and adhesives. Nail glue and acetone don’t necessarily “burn” the nail, but they can leave it dry and chalky. That dryness makes peeling and splitting more likely, especially if you don’t rebalance with oil and moisturizer.
- Lifting that turns into leverage. When product starts lifting, it becomes a little pry bar. Everyday activities (hair washing, typing, opening cans) can pull at the enhancement and stress your natural nail.
- Skin contact and allergies. Some nail glues and gel systems contain acrylates, which can trigger contact dermatitis in some people especially if product touches the skin. This isn’t something to “push through.” Reactions can worsen with repeated exposure.
If you take only one idea from this article, make it this: the health of your real nails depends more on technique and timing than on the type of fake nail you choose. That’s empowering because technique is something you can control.
Choosing the least-damaging nails
There’s no single “best” option for everyone. The least-damaging choice depends on how long you want to wear them, how hard you are on your hands, and how much maintenance you’re willing to do.
- Press-on nails are often the gentlest when applied and removed correctly, because you can avoid heavy filing and long exposure to solvents. They’re ideal for weekends, vacations, events, or anyone who likes changing styles often. If you’re recovering from nail damage, press-ons are also a smart way to get the look while your natural nails grow out.
- Soak-off gel (short extensions or gel polish) can be a good middle ground if you want a longer-lasting manicure. The key phrase is “soak-off.” If a salon routinely files gel off aggressively, you’ll see more thinning over time. If you go gel, consider asking specifically for a system designed to soak off cleanly and a tech who removes gently.
- Dip powder can be durable and doesn’t require curing lights, but removal can involve longer acetone exposure. If your nails peel easily, you’ll want to be extra careful with removal and aftercare.
- Acrylics are strong and long-wearing, but they’re also the easiest to over-file during prep and removal. That doesn’t mean acrylics are automatically “bad,” but they do demand a higher level of skill and restraint. If you love acrylics, your best protection is a reputable tech, conservative filing, and timely fills.
If you’re unsure, a good rule is: the longer you plan to wear them, the more important professional-quality prep and removal become. For short-term wear, many readers find press-ons with careful removal to be the easiest path to healthy nails.
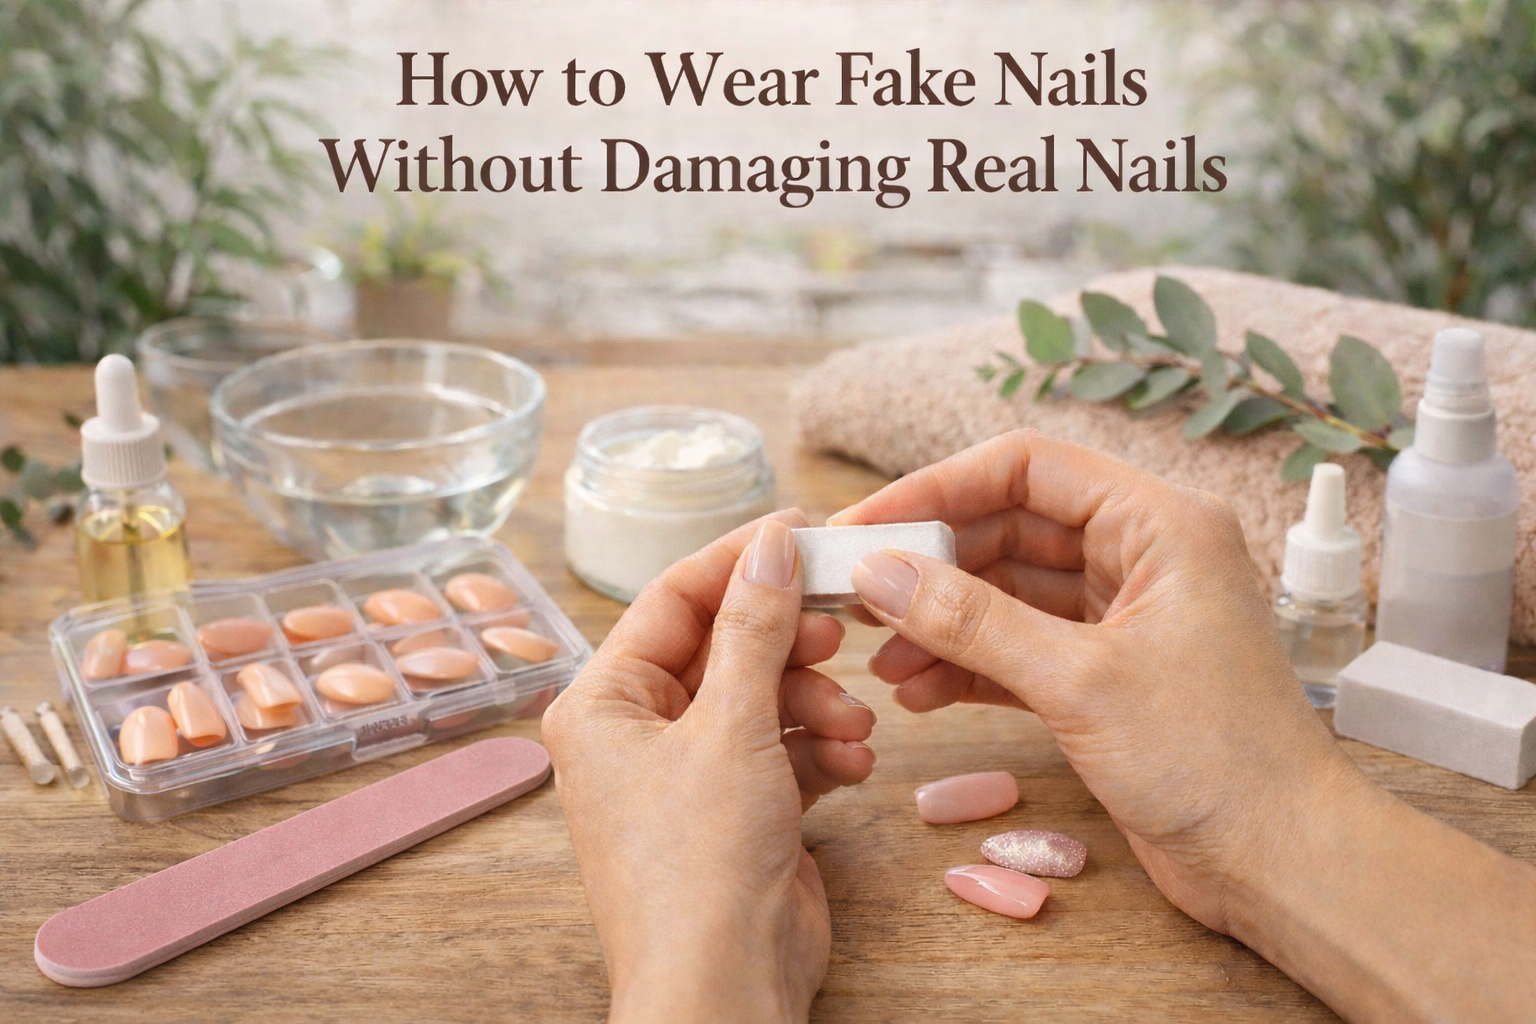
Nail prep that protects your real nails (and still helps them last)
Prep is where many people accidentally cause the most damage usually in the name of “making them stay longer.” The goal is secure adhesion without thinning the nail.
Start with clean nails, but avoid harsh steps that strip and scratch unnecessarily. Remove old polish, wash hands, then dry thoroughly. If your nails are naturally oily, a swipe of alcohol on the nail plate can help.
Next, focus on the cuticle area. Your cuticles are a protective seal, and cutting them can raise the risk of irritation and infection. Instead, soften them after a shower or with cuticle remover, then gently push back with a soft tool. If you’re getting a salon set, you can absolutely ask your technician to skip cuticle cutting.
When it comes to buffing, think “minimum effective dose.” A very light buff to remove shine can help adhesion for some systems, but aggressive buffing creates thin, tender nails. If you see dust flying and your nail feels hot or sensitive, that’s a sign things are going too far.
Finally, consider adding a protective barrier when appropriate. Many people do well applying a thin base coat before press-on glue. It can reduce the chance of peeling when you remove the nails later. The tradeoff: sometimes it slightly reduces wear time. If you’re trying to protect already-fragile nails, that barrier is often worth it especially for short-term press-on wear.
If you want your next set to look great and feel better when it comes off, this is the moment to slow down. A gentle prep routine is the foundation of damage-free wear.
Removing press-ons the nail-safe way
Press-ons should come off with patience, not force. A warm soak softens adhesive and reduces the chance of peeling layers off your nail.
A simple approach that works for many people is soaking in warm, soapy water, then adding cuticle oil around the edges and gently working them loose as they lift. If a nail doesn’t want to budge, it’s not ready keep soaking and oiling rather than prying.
If you regularly wear press-ons, consider keeping a gentle remover on hand. Many readers find that having the right remover nearby prevents the “I’ll just pull it off quickly” moment that leads to days (or weeks) of peeling nails.
If your nails are already damaged, here’s how to recover faster without giving up pretty nails
If your nails are thin, peeling, or rough, you don’t need to swear off fake nails forever but you do need a reset.
Start by trimming nails short and filing edges smooth. Peeling tends to travel; a clean edge helps stop splits from creeping. Then focus on hydration, daily. Nail oil (especially around the cuticle and under the free edge) plus a thick hand cream is a simple routine that makes a noticeable difference over a couple of weeks.
During recovery, avoid using nails as tools. It sounds obvious, but it’s one of the fastest ways to turn a thin nail into a torn nail.
If you still want the look while healing, this is where short, well-fitted press-ons with gentle removal can be a smart compromise. You get the aesthetic without committing fragile nails to heavy filing or long soak-offs.
Watch for warning signs that need professional attention: swelling, increasing pain, pus, spreading redness, green/black discoloration, or a rash around the nails after using glue or gel products. Those aren’t “normal damage,” and it’s worth checking in with a medical professional.


