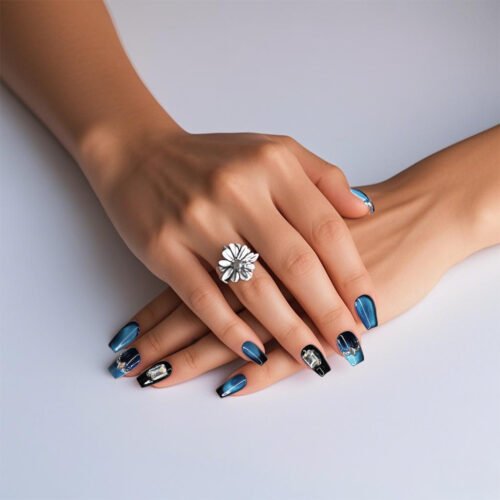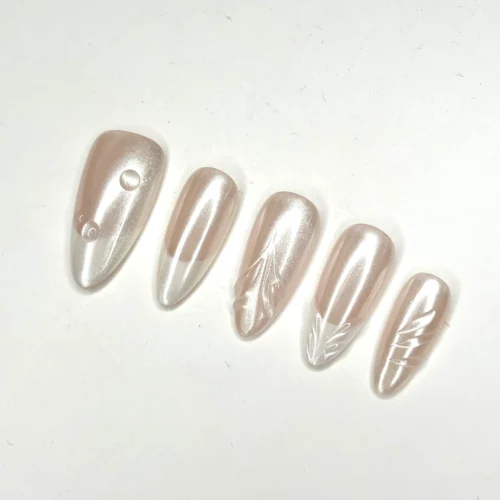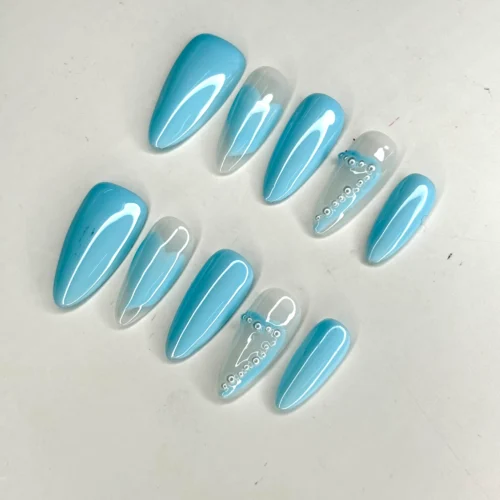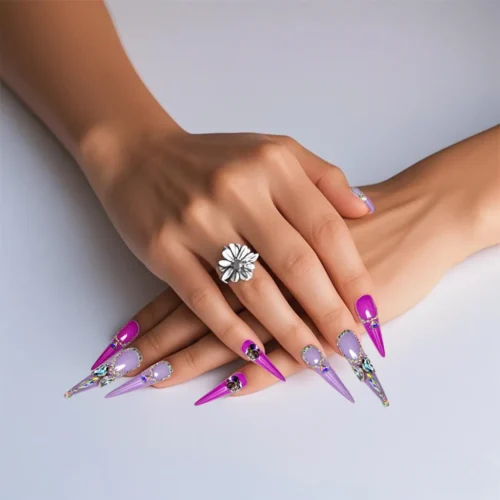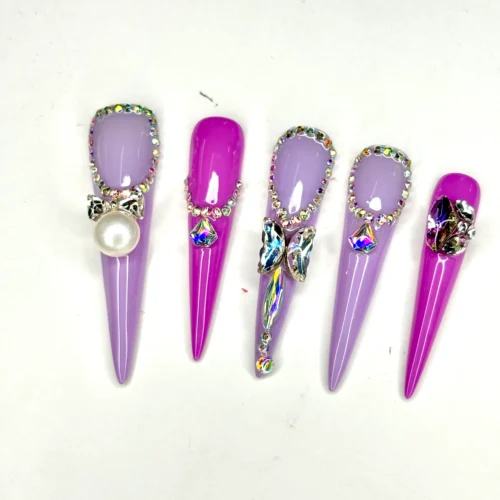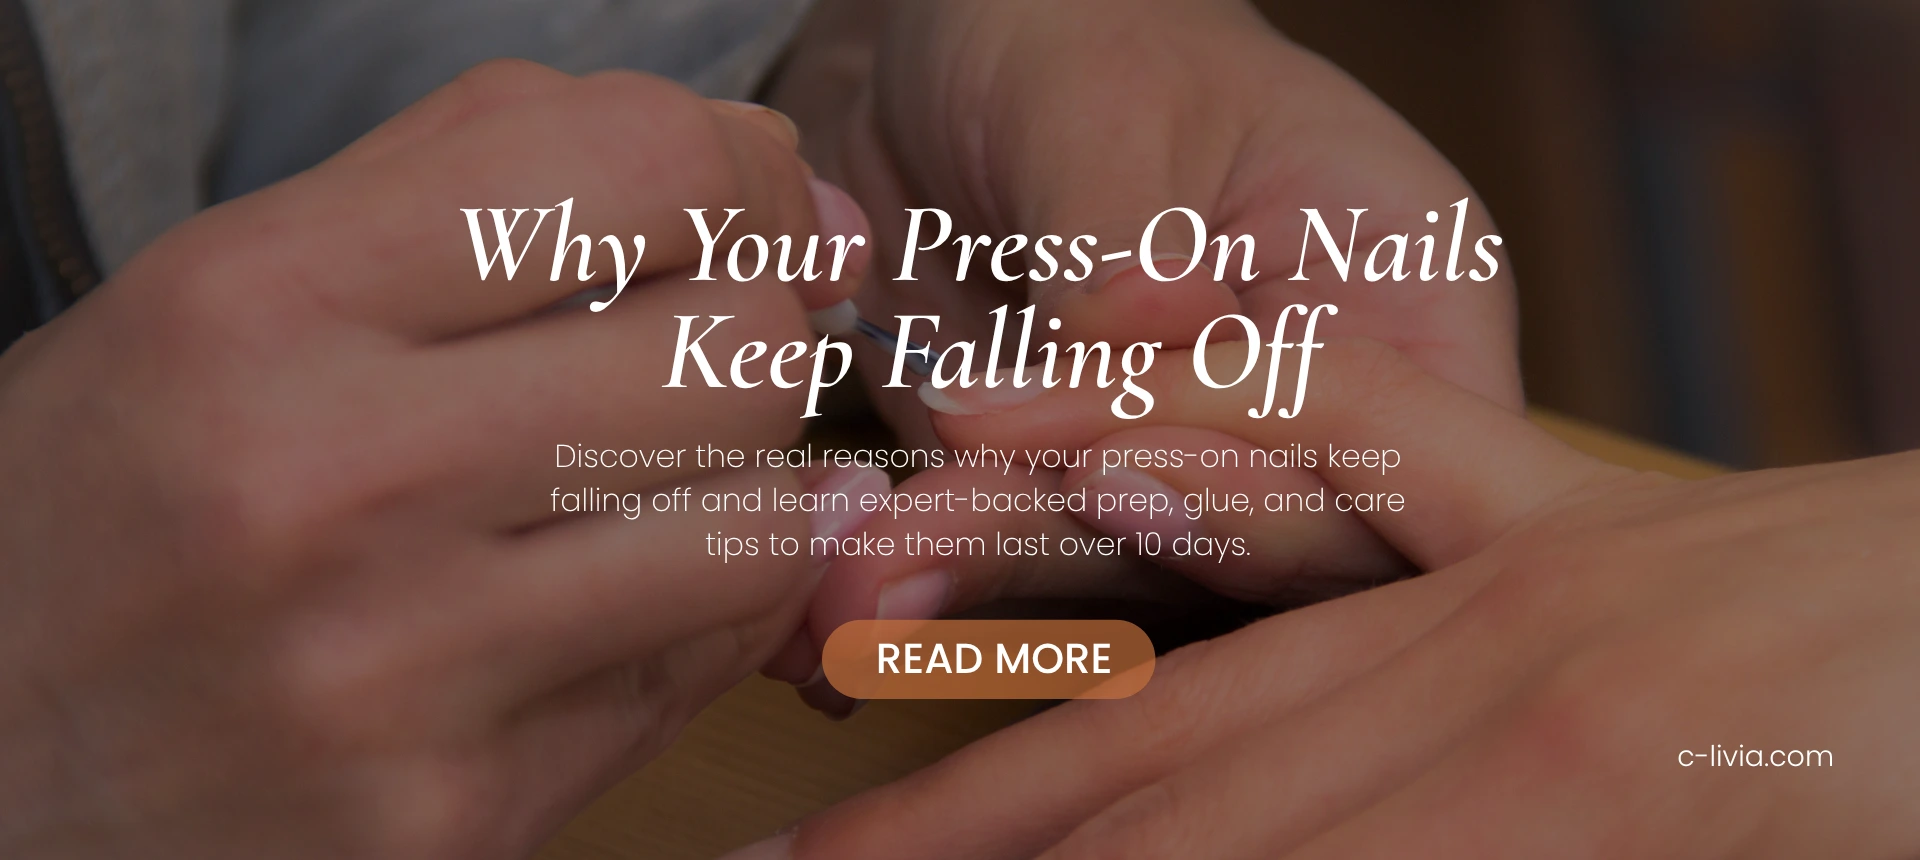
There’s something undeniably satisfying about pressing on a perfectly shaped set of nails and instantly feeling like you’ve just stepped out of a salon. Press-on nails have become the go-to choice for anyone who loves beautiful, glossy manicures without the expense or time commitment of acrylics or gels. But for many, the dream doesn’t last long. Within days—sometimes even hours—those flawless tips start popping off one by one, leaving behind glue smudges, frustration, and a mystery to solve: why do your press-on nails keep falling off?
The answer lies not in bad luck or poor-quality products, but in a mix of small mistakes and overlooked details. The good news? Once you understand how the adhesive science and prep process really work, you can easily make your press-ons last ten days or longer.
Introduction — Why Press-On Nails Don’t Always Last as Promised
The promise of a quick, salon-quality manicure is irresistible. Press-ons are affordable, customizable, and take a fraction of the time traditional nails do. But what most people don’t realize is that getting them to stay put isn’t about luck—it’s about precision. From the oils on your natural nails to how soon you wash your hands after application, even the smallest misstep can shorten their lifespan.
This guide explores the true reasons your press-ons keep falling off and, more importantly, the proven methods that professionals and beauty enthusiasts swear by to make them last beyond a week. You’ll learn about proper prep, adhesive science, and post-application care so you can finally enjoy durable, salon-level nails from home.
The Real Reasons Your Press-On Nails Keep Falling Off
When your nails pop off prematurely, it’s rarely because the glue failed. The problem usually starts before the press-ons even touch your fingertips. Natural nails produce oils that interfere with adhesion, and if you skip cleaning or use lotion before application, those oils create a barrier between your nail bed and the glue.
Another overlooked culprit is sizing. If a press-on nail doesn’t fit your natural nail exactly—too big, too small, or with the wrong curve—it won’t bond evenly. Air gaps form underneath, and those tiny spaces invite water and humidity to sneak in, eventually lifting the edges.
Old or weakened adhesive is another common issue. Nail glue has a shelf life, and once it starts to thicken or separate, it loses its bonding power. Combine that with exposure to heat, water, or humidity too soon after application, and your nails won’t stand a chance.
Finally, many people rush the process. Glues and tabs need curing time to form a solid bond. Using your hands too soon—washing dishes, typing, or showering—can break that bond before it’s fully set. Skipping prep steps or taking shortcuts may save you a few minutes initially, but it’ll cost you days of wear time later.
In beauty forums and nail communities online, professionals agree: when prep is skipped, press-on nails last an average of just two to three days. With proper prep, they can last over ten.
The Prep Routine That Makes Press-Ons Last 10+ Days
A long-lasting manicure begins long before you open the glue bottle. Clean, dehydrated nails are the foundation of a perfect press-on application. Start by washing your hands thoroughly with soap and water, making sure to remove all oils, lotions, and residue. Once dry, swipe each nail with acetone or a nail dehydrator to eliminate any lingering moisture.
Next, gently push back your cuticles. It’s a simple step that ensures the glue adheres only to your nail plate, not the surrounding skin. Lightly buffing the surface creates a subtle texture that allows the adhesive to grip better. Then, check each nail tip for proper sizing. The press-on should fit edge-to-edge without touching the cuticle or overhanging the sides. If it doesn’t, file it gently until it does.
Before applying glue, arrange all your nails in order so you can work quickly and efficiently. This small act of preparation makes the process smoother and prevents mistakes once the adhesive is applied. The difference between a two-day manicure and a ten-day manicure often comes down to this simple, thorough prep process.
Understanding Nail Adhesive: Glue, Tabs, and Gel
Not all adhesives are created equal. The key to long-lasting press-ons is choosing the right one for your needs. Traditional nail glue offers the strongest and longest hold, especially when made with ethyl cyanoacrylate—the same ingredient used in salon-grade applications. It’s ideal for vacations, events, or anyone who wants a manicure that can handle everyday wear.
For those with sensitive nails or who only want a temporary look, adhesive tabs are a gentler choice. They’re easy to remove and perfect for short-term wear, though their longevity is much shorter. Some nail artists swear by the hybrid “double-glue” method—applying a thin layer of glue to both the natural nail and the press-on before pressing them together. This technique forms a double bond that’s resistant to lifting and lasts significantly longer.
When choosing your adhesive, look for formulas with added ingredients like vitamin E or castor oil, which protect the natural nail while maintaining a firm hold. If you apply carefully and allow it to cure properly, even basic glue can perform like a professional-grade product.
Perfect Application Technique (Salon Tested)
Application is where technique makes or breaks your manicure. Professionals always recommend applying the press-on at a slight angle, starting at the cuticle and pressing downward to avoid air bubbles. Once positioned, press firmly for a full 30 seconds, keeping steady pressure to ensure a solid seal.
If glue seeps out, wipe it away immediately with a cotton swab dipped in acetone before it hardens. When finished, gently file the edges and seal everything with a thin layer of top coat or gel finish. This final step adds shine and protects against lifting.
After application, patience is key. Avoid water, lotion, or heat exposure for at least four to six hours. This allows the adhesive to cure completely and strengthens the bond between your natural nail and the press-on.
Everyday Care to Keep Them On
Once your nails are set, your daily habits determine how long they last. Keep your hands moisturized, but focus on the cuticles, not the nail surface. Oils and creams on the nail itself can weaken the glue. When doing chores like washing dishes or cleaning, always wear gloves to protect your nails from heat and chemicals.
One of the biggest mistakes people make is using their nails as tools. Prying open cans, peeling labels, or scratching off residue puts unnecessary stress on the glue and can cause early lifting. If a corner does start to lift, fix it immediately with a tiny drop of glue before it spreads. Reapplying a clear top coat every few days also keeps the nails sealed and glossy, reducing the risk of air pockets or water damage.
Common Mistakes and How to Fix Them
If your nails fall off within 24 hours, it’s almost always due to poor prep or moisture. Take the time to redo the cleaning and dehydration process. If the same nail keeps popping off, it’s likely a sizing issue—try filing or reshaping the press-on for a better fit.
Sticky residue after removal usually means too much glue was used or it wasn’t fully cured. A lighter application will prevent this next time. If your natural nails feel weak afterward, treat them with a strengthening oil or biotin-infused nail serum before reapplying a new set.
Pro Tricks from Nail Artists
Top nail artists have a few tricks up their sleeves for longer-lasting results. The double-glue method remains a favorite among professionals for extra hold. Some also recommend sealing the finished set with a mini UV lamp, which hardens the top coat and locks out moisture. Mixing nail shapes to match your natural curvature can also enhance comfort and prevent lifting at the edges. And before every application, wipe your nails with acetone prep pads for that final, oil-free finish—small details that make a big difference.
Removal and Reuse Without Damage
When it’s finally time to take them off, patience is your best friend. Soak your nails in warm, soapy water for about fifteen minutes to loosen the adhesive. Once they begin to lift, gently push from the sides with a wooden cuticle stick—never force them off.
If you plan to reuse your press-ons, clean off old glue using a bit of acetone and store them flat in a clean, labeled box. Giving your natural nails a short break between sets—two or three days—is also essential to keep them strong and healthy.
Conclusion
Making your press-on nails last isn’t about buying the most expensive set or the strongest glue—it’s about understanding the process. When you clean, prep, apply, and care for your nails properly, they’ll stay flawless for well over a week. With these pro-level techniques, you can finally enjoy durable, glossy, salon-quality nails from the comfort of your home.
Next time you apply a set, remember: clean nails, proper fit, and patience are the real secret weapons for long-lasting press-ons. Treat your hands gently, care for your cuticles, and your manicure will not only last but look stunning every single day.